Gaussian Splatting Learn
Gaussian Splatting in Blender
Learn how to import and work with Gaussian Splatting scenes in Blender workflows.
Start building now
Turn your images or 360 video into photorealistic 3D scenes
Upload your capture, train a Gaussian Splatting scene and manage everything directly in the Splatware workspace.
Blender + 3DGS
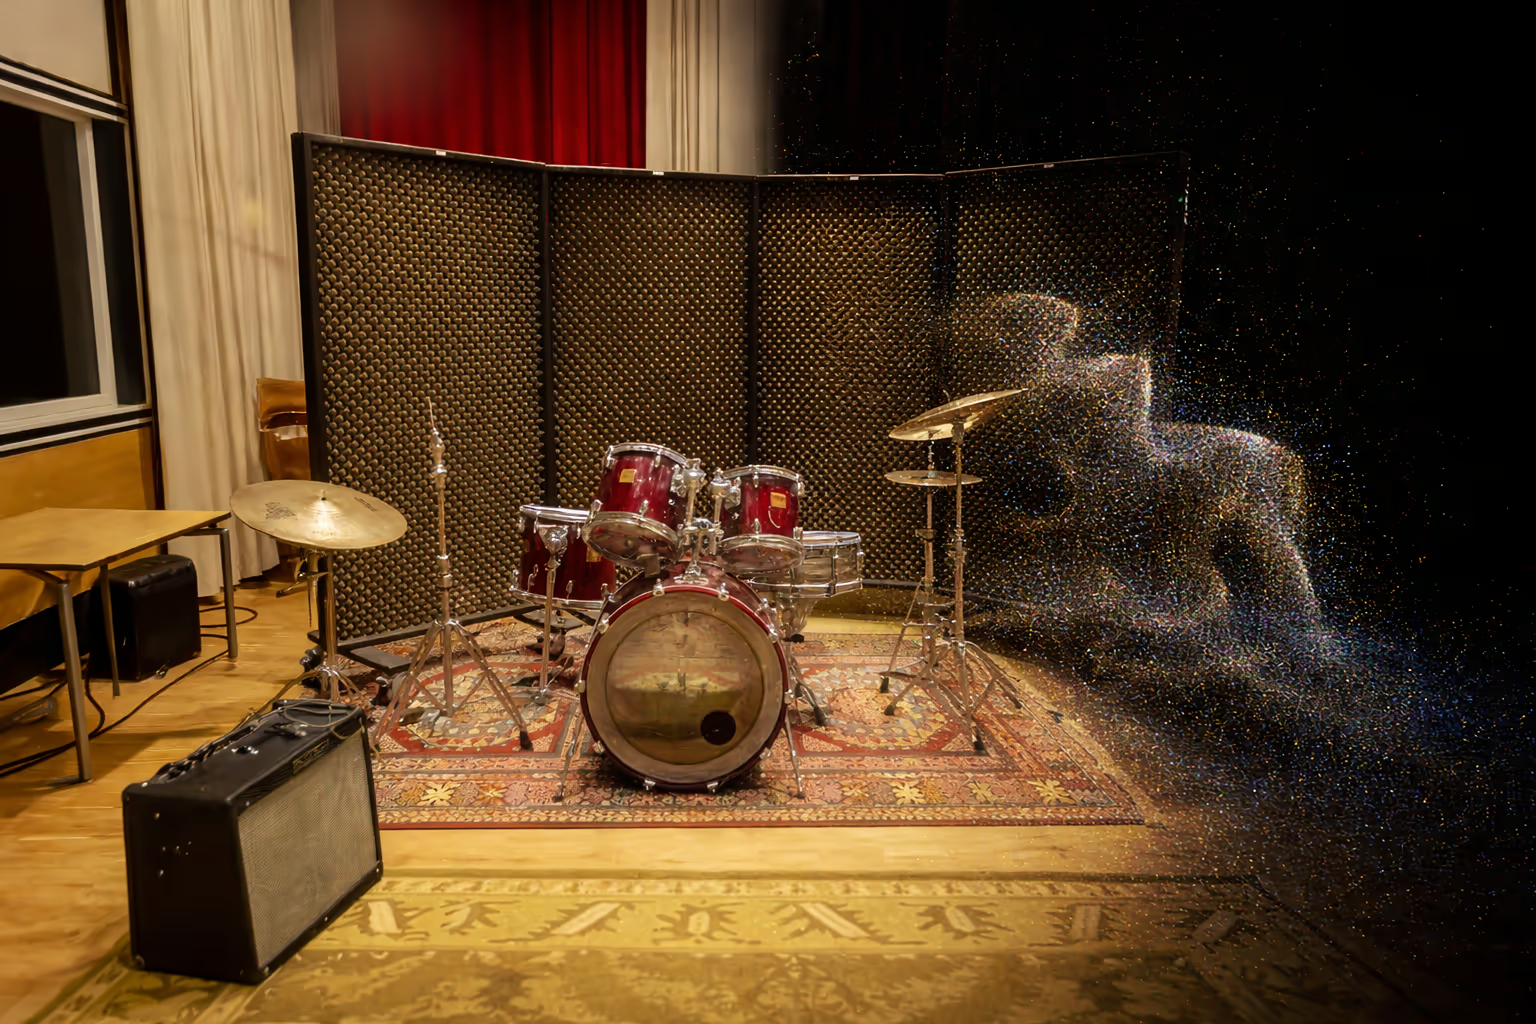
Gaussian Splatting in Blender opens up a much more creative 3DGS workflow.
Gaussian Splatting in Blender is one of the most interesting next steps after training a scene in Splatware Workspace. Instead of stopping at a viewer, you can move the splat into a full DCC environment where cameras, compositing, layout, look development and artistic iteration become much easier.
The core idea is simple: export a PLY file from Splatware Create, install Blender 5 and the 3DGS Render addon by KIRI Engine, import the scene, then switch from point-style preview to full Gaussian Splatting rendering. This is what most people are really looking for when they search for Blender Gaussian Splatting, 3DGS Blender or how to import Gaussian Splatting into Blender.

Why Blender matters
Blender is a natural destination for artistic workflows
It is also a strong complement to engine workflows
Why artists keep looking for Gaussian Splatting in Blender
Blender is familiar, flexible and already central to many artists’ workflows. That means a splat can live next to other assets, reference cameras and shot-development setups without forcing the team into a completely different mental model.
The appeal of Gaussian Splatting Blender workflows is not just technical compatibility. It is the fact that the splat can become part of a broader creative environment. You can connect it conceptually to 360 video capture, photogrammetry comparisons, Splat Editor cleanup and photo-video presentation workflows.
Core workflow
The Blender pipeline is simple on paper: train, export, import, switch modes, render.
Train the scene in Splatware
Export a PLY file
Install Blender 5 and 3DGS Render
Import the splat into Blender
Switch to full Gaussian rendering
Requirements
What you need before importing Gaussian Splatting into Blender
The required setup is refreshingly direct. You need a trained scene from Splatware, a PLY export, a compatible Blender 5 installation and the 3DGS Render addon by KIRI Engine.
That combination is what makes the workflow relevant for users searching for PLY Blender Gaussian Splatting, Blender 5 Gaussian Splatting and KIRI Engine Gaussian Splatting Blender.
Installing 3DGS Render
Install path
- Download the addon ZIP from KIRI Engine.
- Open Blender 5.
- Drag the ZIP into the viewport or install it through preferences.
- Enable it if needed under Edit → Preferences → Add-ons.
- Press N to open the right-hand panel and find 3DGS Render.
Why this addon matters so much
The KIRI addon works as a full Blender-side workflow for 3DGS. Blender can not only open splats. The KIRI addon is a stable Blender Gaussian Splatting addon that supports editing, real-time rendering and actual production use.
The addon also aligns well with more advanced downstream paths such as 3D Splat Editor, Photo Video Studio and creative presentation workflows.
Importing the PLY
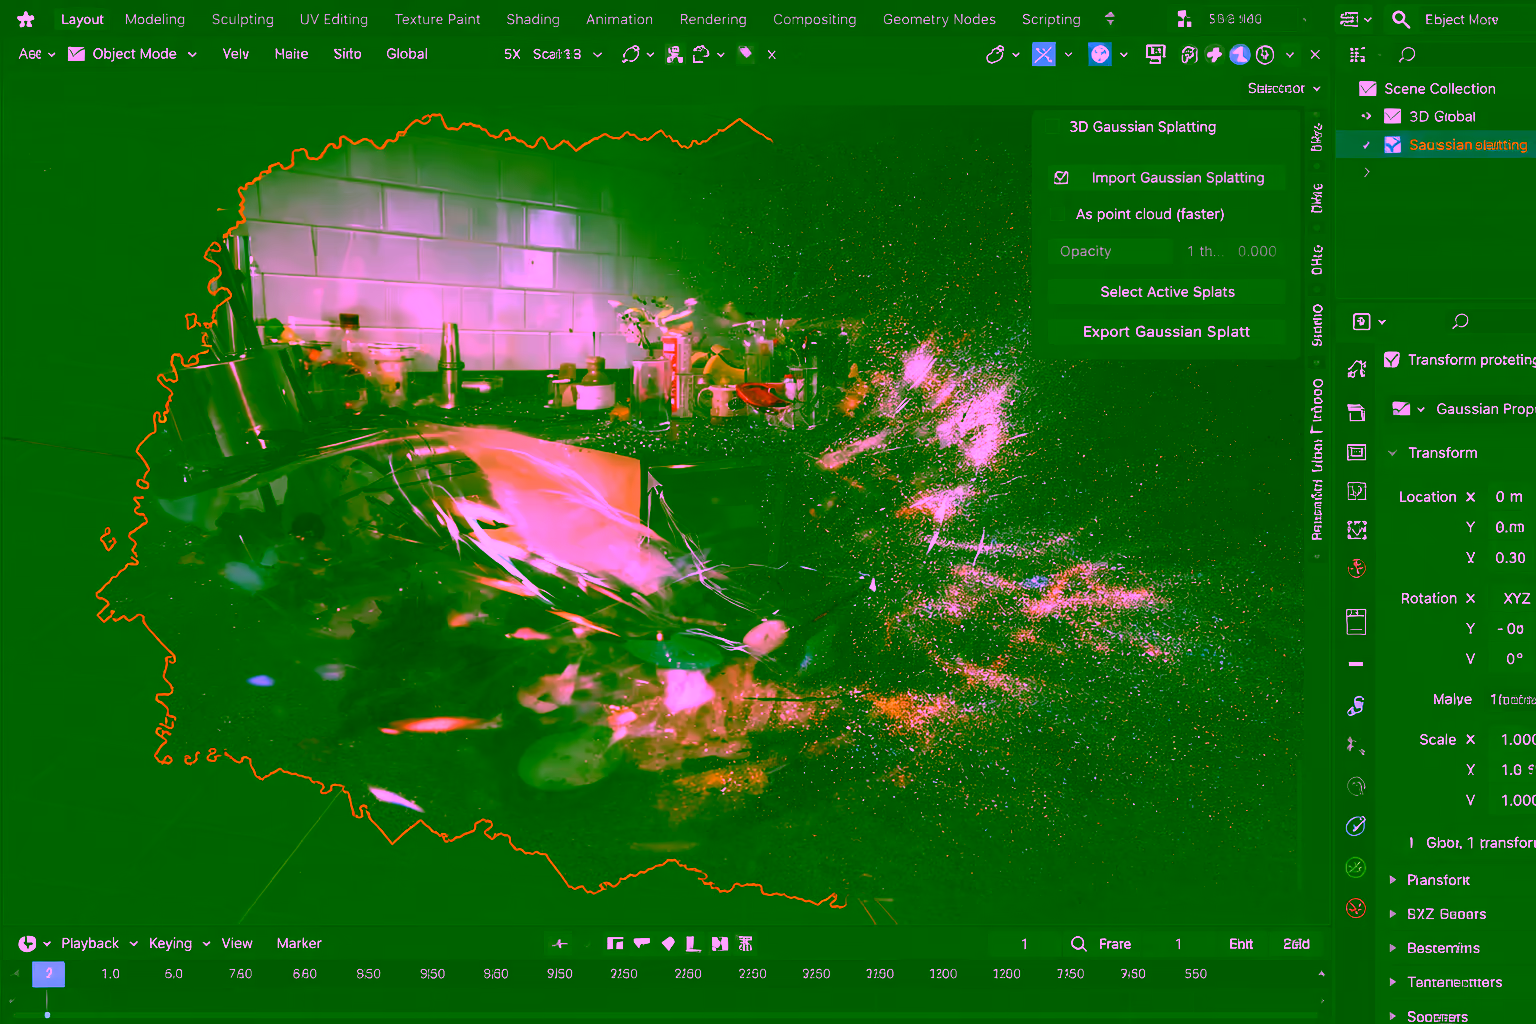
Importing a Gaussian Splatting PLY into Blender is easy, but the preview can mislead first-time users.
After opening 3DGS Render in the N-panel, switch the active mode to Edit, then use Import PLY. Select the file you exported from Splatware. After a short import process, the scene appears in Blender.
The crucial detail is that the imported scene often appears at first as a dense point cloud or point-style preview rather than fully rendered Gaussian splats. That behavior is normal and is one of the main reasons people think the import did not work, even though it actually did.
For large scans, import may take a while. Your current docs are right to emphasize keeping Blender responsive during this stage. If you are working with larger real-world environments from 360 video workflows, patience during import matters.
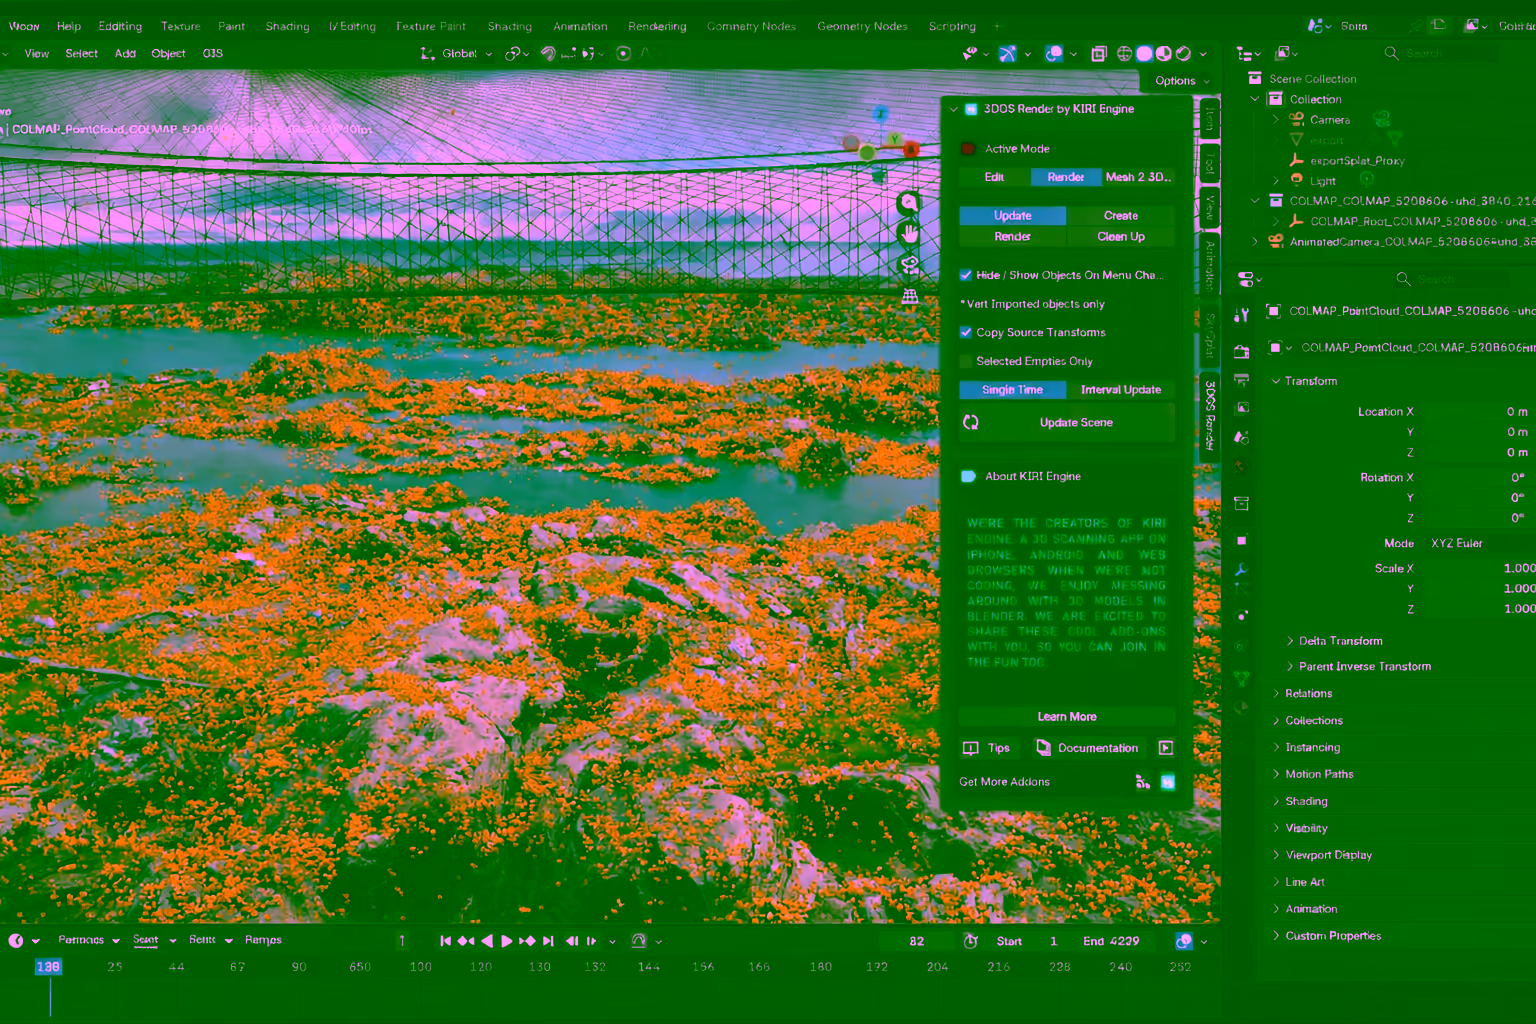
Render mode
The most important Blender-specific step is switching from points to full Gaussian splat rendering.
What you see first
What you need to do
Why it matters
The split between Edit mode and Render mode is one of the defining traits of the addon. It keeps heavy data manageable during layout and cleanup, while still letting you switch into a higher-quality splat display when you need the actual final look.
This is also where the addon becomes much more than a simple importer. It effectively gives Blender a dedicated 3DGS render layer that artists can use in a more intentional way, including camera setup, preview strategy and final scene presentation.
If you are comparing it with engine-oriented workflows, this is roughly the Blender-side equivalent of what makes Unreal Engine Gaussian Splatting compelling: the scene is not just loaded, it becomes usable in the language of the host application.
Editing and lookdev
Blender is valuable because the splat becomes editable, not just viewable.
The strongest aspect of this workflow is not only that Blender can show splats. It is that the addon separates editing and rendering in a way that suits real production work. The current docs mention cropping, decimation, color editing, camera culling, size filters, color filters and more general modifier support.
The ranking page also emphasizes wider practical features such as multiple splats in the same scene, higher-quality splat rendering and update systems that keep the object behaving correctly as you move the camera. Together, these features make Gaussian Splatting in Blender feel much more mature than a one-click import novelty.
This is where Blender becomes particularly useful for artists working on mood, framing, editorial composition or experiments that sit somewhere between scene capture and stylized image making.
Edit mode
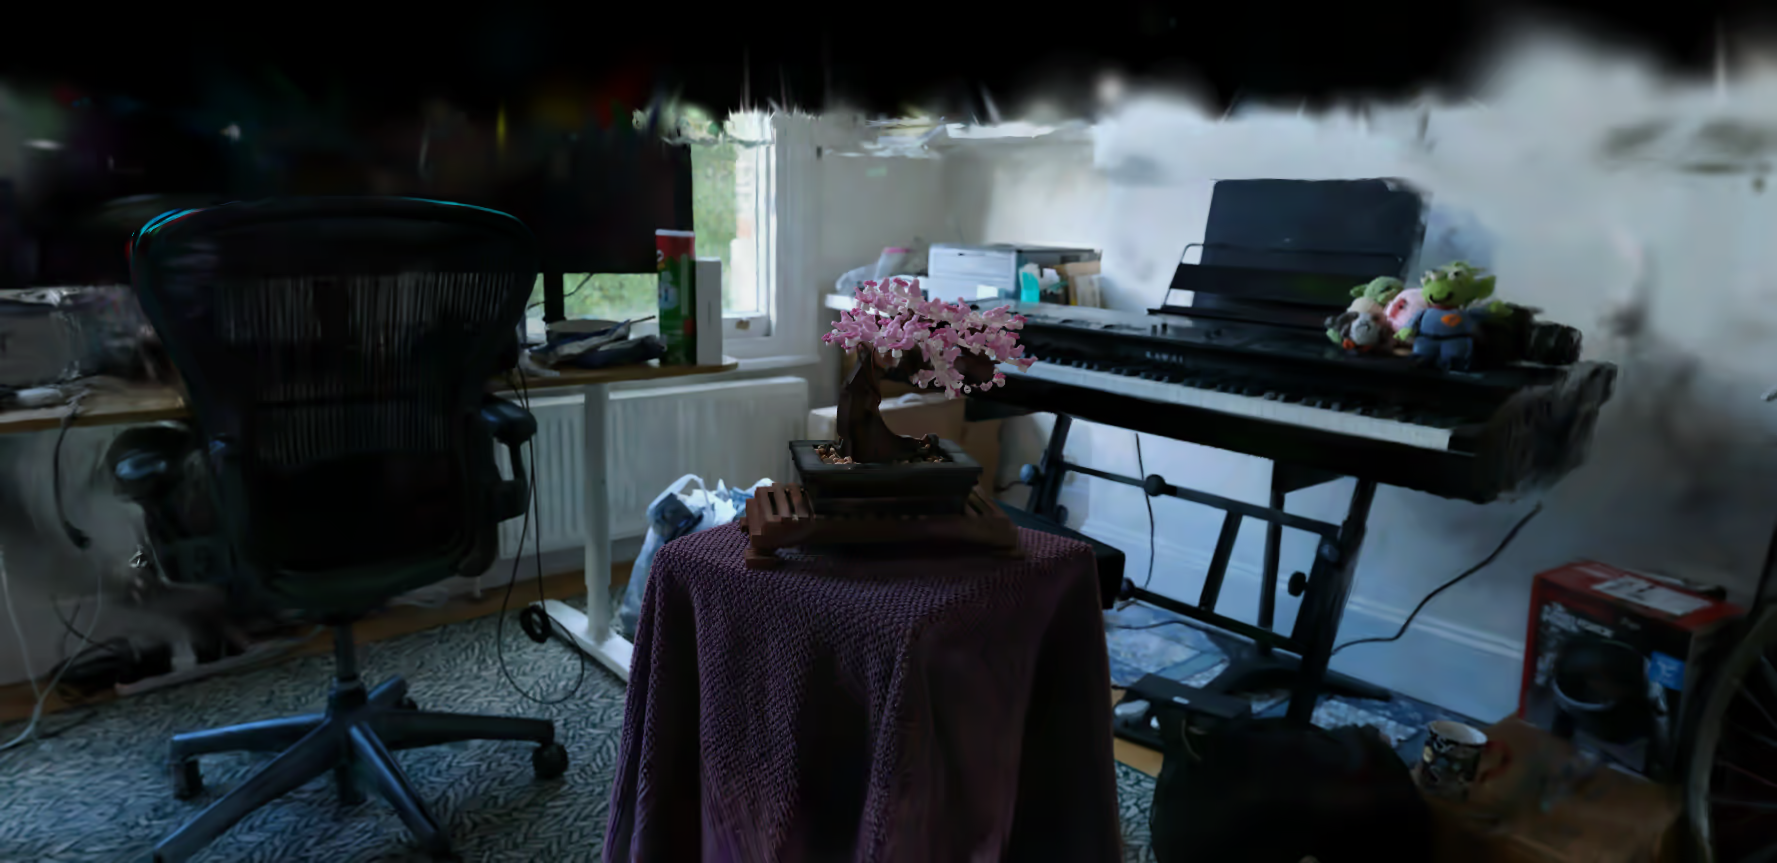
Render mode
Mesh → 3DGS
Eevee relevance
Performance and limits
Heavy splat scenes can be beautiful in Blender, but they still reward practical viewport discipline.
Use point previews while blocking the shot
Use camera culling for heavier scans
Use compatible PLY data
Be careful when re-exporting
The Blender addon might decrease in performancs for heavy scenes, thats when to switch to the much more performant pointcloud mode instead of gaussians. That is why performance tips matter so much for search intent around Gaussian Splatting Blender 5, 3DGS Render Blender and Eevee Gaussian Splatting.
Best use cases
Gaussian Splatting in Blender is especially useful when your goal is artistic or editorial rather than purely interactive. It is strong for compositing, camera planning, still render exploration, layout tests and creative scene treatment.
It also works well in hybrid contexts where the splat is part of a broader 3D workflow. That includes staging assets around a scan, testing multiple camera angles, building presentation imagery and exploring how a trained real-world scene behaves in a more cinematic environment.
For adjacent learning paths, it is worth exploring Unreal Engine workflows, 360 video capture workflows and when photogrammetry may still be preferable.
Blender is often the better choice when…
- You want stronger camera composition and shot design.
- You need compositing and DCC-style look development.
- You want to crop, clean or stylize the splat before output.
- You want Eevee-oriented preview or creative iteration.
- You need a more artist-centric destination than a lightweight viewer.
Start with Splatware
Start in Splatware, export cleanly, then take the splat into Blender.
The cleanest production route is to use Workspace or Create for training and export, then move the scene into Blender only once the core 3DGS data is ready. That keeps the workflow organized and avoids using Blender for steps it does not need to own.
If you want a more document-style companion page, keep the Blender docs close by. If you want the broader ecosystem around the splat, explore Splat Editor, 3D Splat Editor showcase, Marketplace and Showcase.
Build your Blender workflow
Export a Gaussian Splat and open it in Blender
Train in Splatware, export as PLY, import into Blender and use the addon workflow for editing, previewing and final scene output.
FAQ
Gaussian Splatting in Blender FAQ
Can Blender render Gaussian Splatting scenes?
Yes. With the 3DGS Render addon by KIRI Engine, Blender can import and render Gaussian Splatting PLY files in a dedicated Blender workflow.
How do you import Gaussian Splatting into Blender?
A common workflow is to export a PLY file from Splatware, install Blender 5 and the 3DGS Render addon by KIRI Engine, open the N-panel, switch to Edit mode and use Import PLY.
Can Blender show Gaussian splats instead of only points?
Yes. After import, many scenes first appear as points or a dense preview. Switching to Render mode in the 3DGS Render addon enables full Gaussian splat rendering.
Is the 3DGS Render addon free?
According to the referenced documentation notes, the addon by KIRI Engine is free and open-sourced under an Apache 2.0 license.
Why use Blender for Gaussian Splatting?
Blender is useful because it supports editing, compositing, camera work, Eevee workflows, modifiers and artistic control around the splat scene.
Splatware workspace
Ready to create your own Gaussian Splatting scene?
Start in the workspace, upload your data and train your next photorealistic 3D model with Splatware.