Capture Guide for Optimal 3D Scanning
Capturing high-quality images and videos is the foundation of great 3D model generation. Whether you're scanning a stadium, an object, or an indoor room, following the correct techniques ensures a photorealistic and artifact-free result.
Preparation Checklist for High-Quality Capture
Before Capture
- Use stable, soft lighting — early morning, cloudy days, or shaded environments work best.
- Charge your device fully and ensure plenty of SD card space or internal storage is available.
- Enable manual camera settings: lock exposure, white balance, and focus to avoid flickering or light shifts.
- Use a gimbal or tripod to stabilize your footage, especially for static object scanning.
- Set resolution to 4K or higher and avoid high ISO levels that introduce noise.
- Clean the camera lens to ensure maximum sharpness and clarity.
- Test your settings with a quick trial video before recording the full sequence.
During Capture
- Walk around the subject smoothly — do not rotate in place or shake the camera.
- Ensure 50–70% frame overlap from one shot to the next.
- Capture from multiple heights and angles: low, mid-level, and above.
- Avoid quick movements, fast pans, or excessive auto-stabilization.
- Keep the subject fully within the frame without cropping edges or tops.
- Film continuously rather than stopping/starting unless you capture multiple passes.
- Use 30fps instead of 60fps unless motion blur is a concern.
After Capture
- Do not apply color filters, LUTs, vignettes, or heavy grading. Raw footage gives best photogrammetry results.
- Keep image sequences and video segments complete — don’t trim overlapping parts unless necessary.
- Avoid exporting with extreme compression or ultra-high bitrates; use balanced H.264 or H.265 at ~30–50 Mbps for video.
- Do not apply sharpening, blurring, or denoising effects.
- Label your footage clearly if using multiple passes (e.g. drone-pass-1.mp4, interior-left.jpg).
- Back up footage before uploading to Splatware for conversion and reconstruction.
Camera Types & Use Cases
| Device | Optimal Use | Notes |
|---|---|---|
| Smartphone Camera | Small to medium objects, room interiors | Use manual exposure, lock focus, record in 30fps for sharper frames |
| 360° Camera | Large environments, outdoor locations | Not optimal for close spaces; avoid motion blur |
| Drone (with camera) | Large areas, buildings, landscapes | Use orbitting at multiple heights/angles for best results |
| DSLR / Mirrorless | High precision scans of small to large objects | Capture sharp stills, consistent lighting, stable shots |
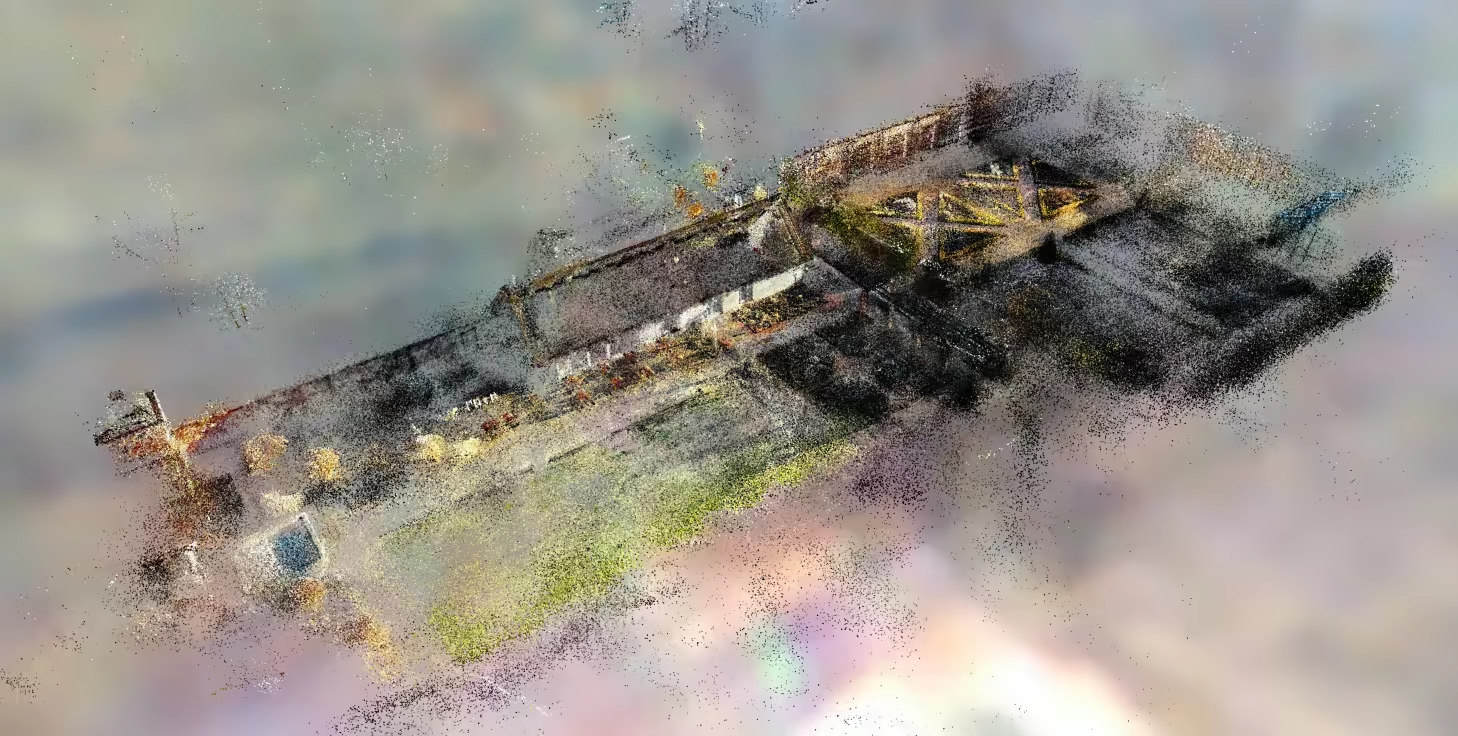
3D Capture Strategies: Common Use Cases
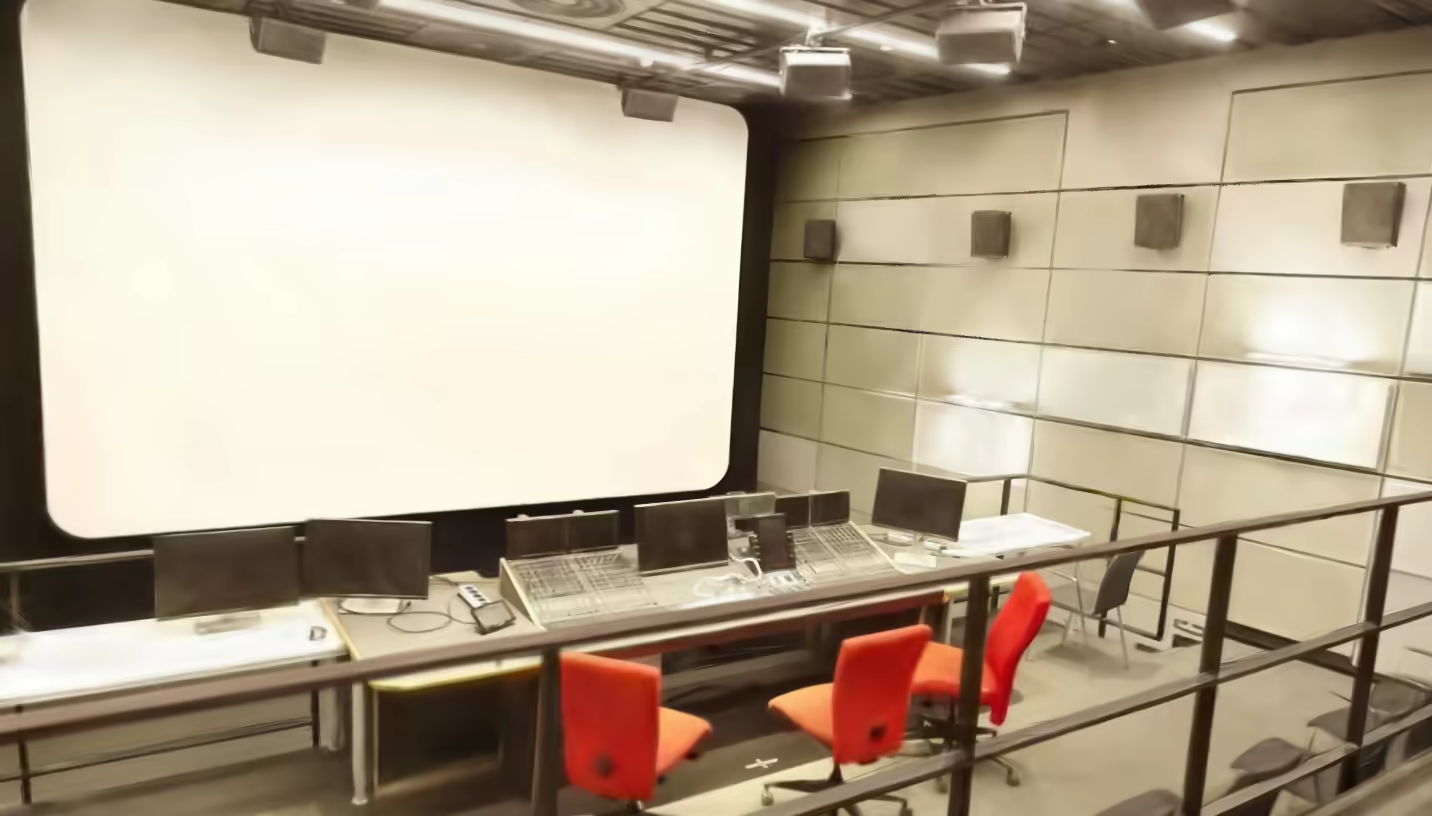
Interior Room Scan
Ideal for architecture, real estate, or VR environments. Start by walking the room's perimeter with your camera held horizontally. Film three passes: one at ~1.5m height, one slightly downward, and another upward to capture ceilings and corners.
Use manual exposure and focus. Open blinds or use lights to ensure even lighting. Avoid fast movements. Capture with 30fps at high resolution. Avoid rotating in place — physical movement improves parallax.
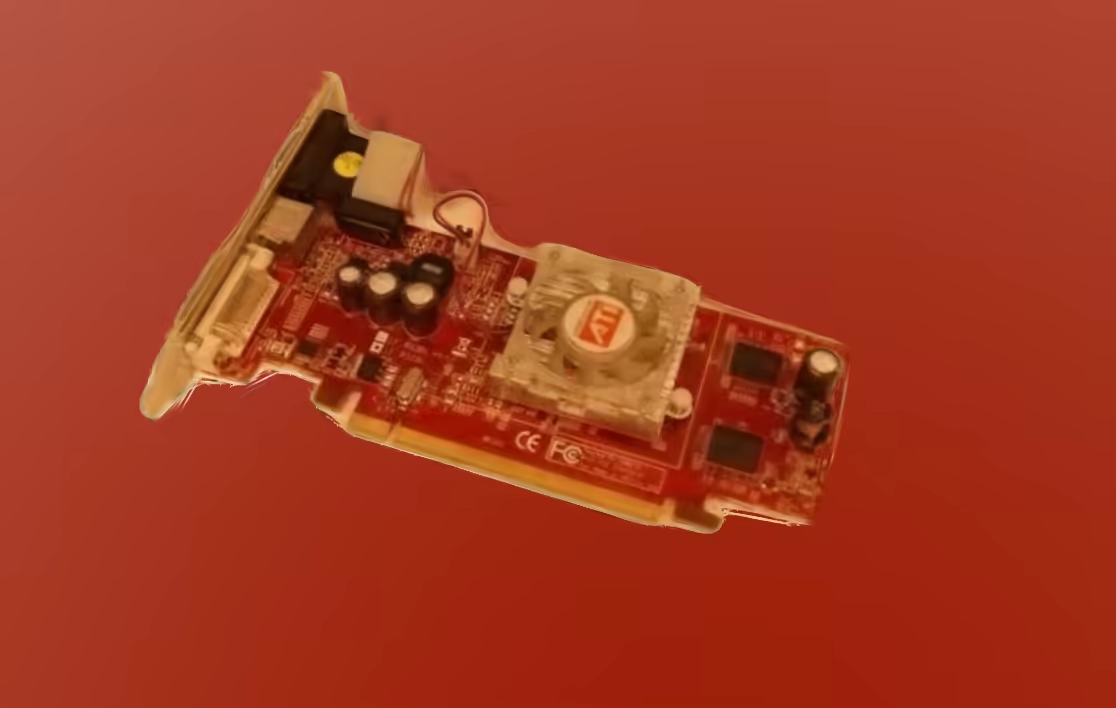
Small Object / Product Capture
Best for collectibles, product showcases, and e-commerce. Use a neutral background and soft, diffused lighting to eliminate harsh shadows. Set your camera to manual mode and lock ISO/shutter speed.
Walk around the object in loops or use a turntable. Record from three angles: eye-level, above, and below. Ensure 70%+ overlap between shots. If handheld, move smoothly and avoid sudden movements.
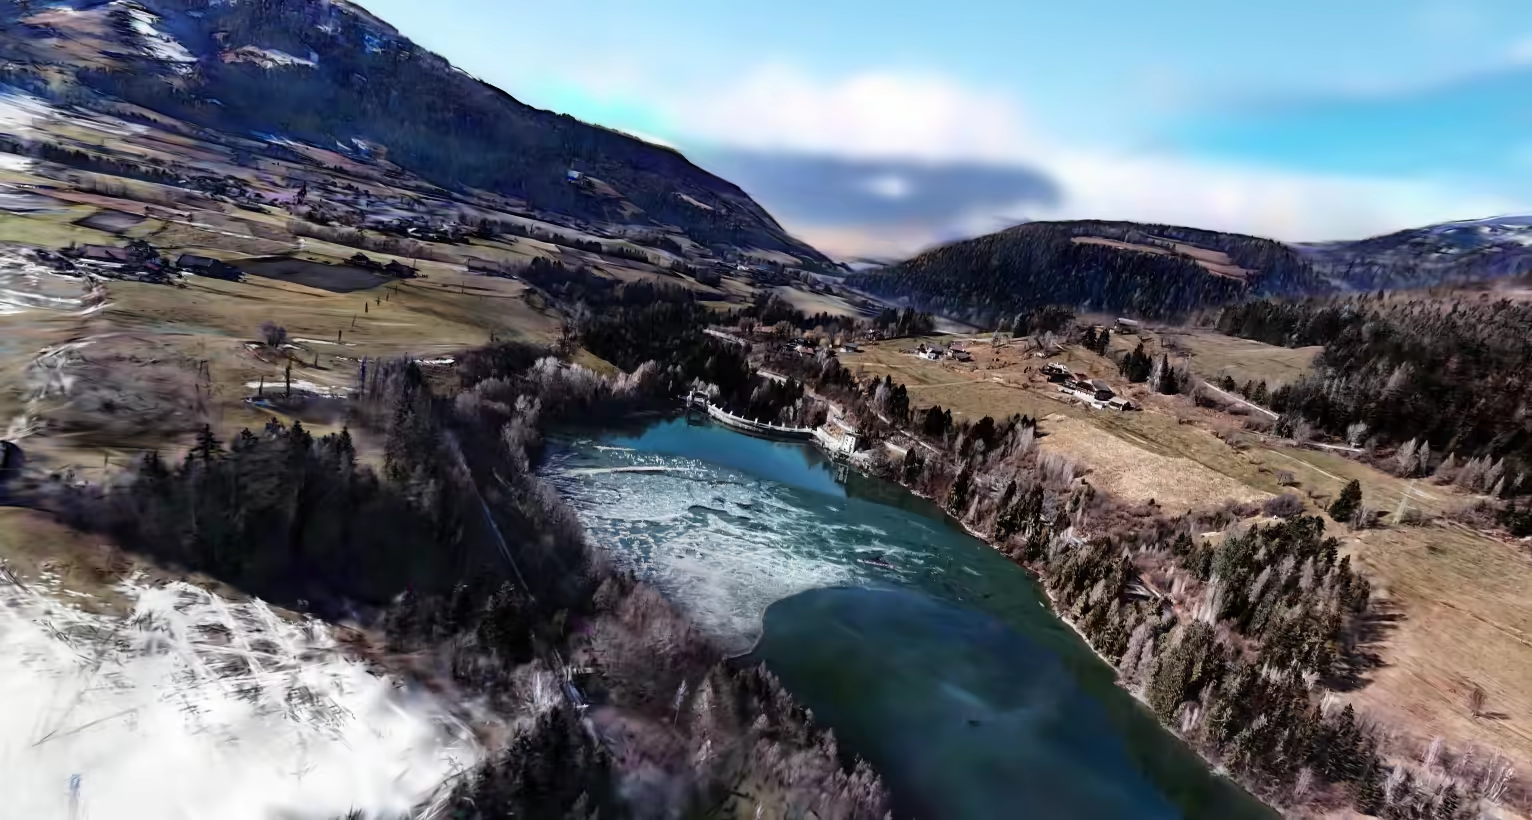
Large Area / Outdoor Capture
Use a drone with a stabilized camera. Fly orbital paths around the scene at multiple altitudes: low (10m), medium (30m), and high (60m+). Maintain consistent speed and avoid sudden pitch/yaw.
Record in 30fps at 4K+ resolution. Avoid windy conditions and shoot during golden hour for soft light. You can combine video with image capture for better geometry if your drone supports it.
Outdoor Statue / Landmark
Move around the statue in concentric rings — close (1–2m), medium (3–5m), and far (10m+). For each loop, maintain a stable distance and ensure complete 360° coverage. Repeat from different heights.
Use a tripod for stills or a gimbal for smooth video. Avoid sun glare, and revisit the spot if lighting conditions change mid-capture. Don’t forget to capture the top and hidden parts where accessible.
Ready to Upload?
Once you've captured your video or images, head over to the /create page to upload and begin model generation. Make sure your footage is steady, well-lit, and comprehensive for the best outcome.